Setting Up LearnDash Course Grid and Lesson Force Timer
Today, I’m excited to share a comprehensive guide on how to set up LearnDash’s Course Grid and make the most of the Lesson Force Timer feature. In this blog post, I’ll take you through the steps covered in my video tutorial, where we’ll explore the process of optimizing your LearnDash setup for a seamless and engaging learning experience.
Understanding LearnDash Hierarchy
Let’s dive right in by understanding the core hierarchy of LearnDash. Courses serve as the foundation, followed by lessons and topics. This structured approach ensures a smooth progression for your learners. I’ll also touch on the versatility of LearnDash, where you can incorporate assignments, quizzes, and certificates to enhance the overall learning journey.
Creating a Consistent Course Grid
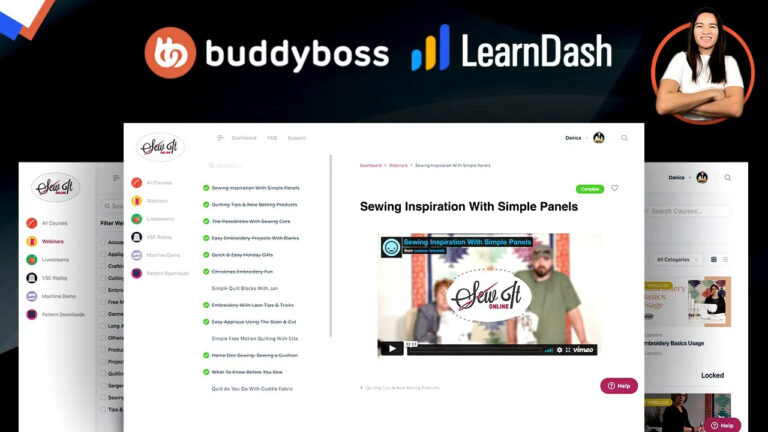
One of the key aspects of a successful online learning platform is a well-organized course grid. In my tutorial, I walk you through LearnDash’s Course Grid settings, which play a crucial role in maintaining a cohesive design. By utilizing the popular Elementor page builder and LearnDash’s course list widget, I’ll guide you through configuring the grid to suit your needs. We’ll cover elements such as arranging the course order, filtering options for enrolled and unenrolled courses, and efficient categorization. To make it even clearer, I’ll demonstrate how these settings impact the appearance of your course listing.
Enhancing Course Details
Course details are pivotal in capturing your learners’ attention. During the tutorial, I’ll show you how to enrich your courses by adding short descriptions, durations, and video previews. I’ll also guide you through enabling video previews and seamlessly integrating featured images or opting for swaps based on your preferences. Additionally, I’ll introduce you to ribbons and custom buttons – a creative way to elevate the visual appeal of your courses within the grid.
Optimizing LearnDash Lessons
Transitioning to LearnDash lessons, I’ll highlight the importance of concise short descriptions and well-defined durations. I’ll also clarify when lesson information becomes visible, especially if you decide to utilize the LearnDash lesson listing feature.
Utilizing the Forced Lesson Timer
One of LearnDash’s standout features is the Forced Lesson Timer – an excellent tool to ensure learners spend a designated time on a lesson before marking it as complete. I’ll guide you through setting this timer in seconds and provide insights into its purpose and functionality. You’ll see how the countdown timer seamlessly integrates below the “Mark Complete” button and interacts with topics and lessons.
Managing Timer Behavior and Addressing Challenges
As with any technology, there might be instances where you encounter challenges. During the tutorial, I’ll address a possible issue – the timer not updating for an enrolled student. If you ever face such a situation, my recommendation is to reach out to LearnDash’s support team for timely assistance. I’ll also provide valuable tips on managing the timer’s behavior when learners leave and return to lessons or topics, ensuring a consistent learning experience.
Engaging with Viewer Feedback
In the conclusion of the video, I extend a warm invitation to all of you. Feel free to ask questions or request specific topics for future videos. Your feedback is incredibly valuable to me, and I’m committed to producing informative content that addresses your needs.
Conclusion
There you have it – a comprehensive guide to setting up LearnDash’s Course Grid and utilizing the powerful Lesson Force Timer. I hope this blog post has provided you with valuable insights into creating an engaging and effective online learning platform. To get a detailed visual walkthrough, don’t forget to watch the original video tutorial linked above. Thank you for joining me on this journey of enhancing your LearnDash experience!