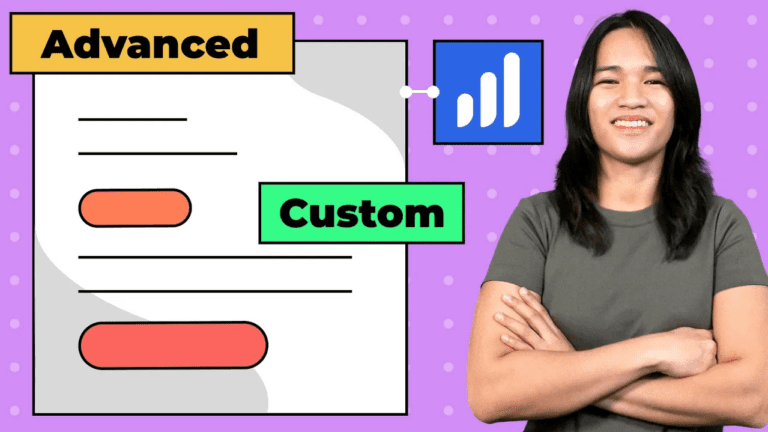
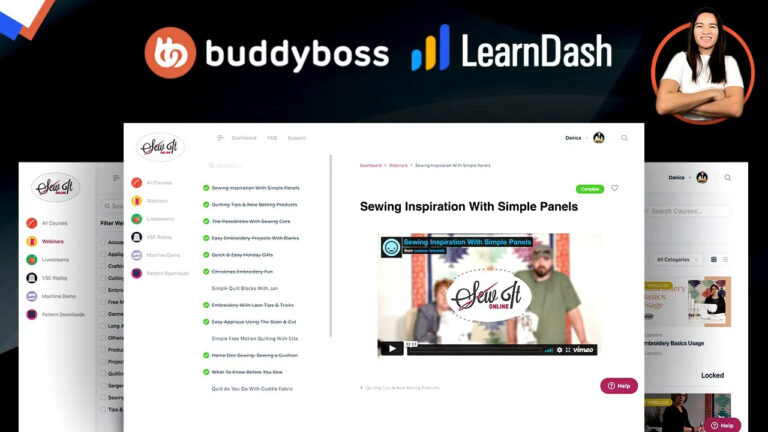
How to Personalize Your LearnDash “My Courses” List: A Step-by-Step Guide
As an educator specializing in WordPress membership designs, I often find myself helping others navigate the intricacies of creating engaging and customized e-learning experiences. In this blog post, I’ll provide you with detailed insights into the process of customizing the “My Courses” list in LearnDash. This is a continuation of the concepts explored in a previous video, where we discussed designing a tailor-made course listing using JetEngine and Elementor Pro.
Customizing the “My Courses” List
In our previous video, we showcased the art of crafting a visually distinctive course listing. However, today, we’ll take it a step further by addressing a viewer’s query—how to create a specialized course listing that exclusively showcases courses in which the logged-in user is enrolled.
Constructing the Custom Query
To achieve this level of customization, we need to construct a custom query that pulls data from the LearnDash user activity table and the wp_post table, which stores course IDs. Our aim is to merge these data sources effectively and apply filters to display only the relevant information.
- Craft an SQL Query Using JetEngine’s Query Builder: The journey begins by creating an SQL query through JetEngine’s Query Builder. By utilizing the inner join functionality, we link the user activity and course tables based on the course and post IDs. This strategic connection ensures that we retrieve data exclusively pertaining to the user’s enrolled courses.
- Apply Filters for Precision: With the query structure in place, it’s time to filter the results. We first narrow down the selection to published courses by specifying the post status. Next, we target the “access” activity type in the LearnDash user activity, signifying enrolled courses. To further refine the results, we ensure that only courses with the post type “courses” are fetched, and this selection is personalized for the currently logged-in user.
Creating the Custom Listing
Once the query is finely tuned, we proceed to create a listing based on this custom query within JetEngine. The listing bridges the gap between the query results and our designated course listing template. While some options may have shifted to the Query Builder in the newer version of JetEngine, the process remains straightforward.
- Integrating Dynamic Fields for Enhanced Display: To elegantly display course titles, we turn to JetEngine’s dynamic fields. These fields seamlessly integrate the data derived from the query into our course listing template. By utilizing dynamic fields such as “post title,” we seamlessly incorporate the query results into our design layout.
- Adding Links for Course Navigation: For added functionality, like linking to individual courses, dynamic fields such as “post ID” come into play. We utilize the “get post or page link” output filter to create clickable links or buttons that effortlessly guide users to their respective courses.
Conclusion
In essence, the process of crafting a customized “My Courses” listing involves a combination of building a tailored query using JetEngine’s Query Builder and then effectively integrating the query results into a listing template. This approach empowers us to showcase only the courses in which a user is enrolled, all while maintaining the design and styling flexibility that Elementor Pro offers.
Thank you for taking the time to explore this tutorial with me. I trust it has shed light on the intricacies of customizing the “My Courses” list in LearnDash. If you found this content valuable, please consider subscribing to my channel and activating notifications for future tutorials. Your ongoing support is genuinely appreciated. Until next time, stay curious and empowered!