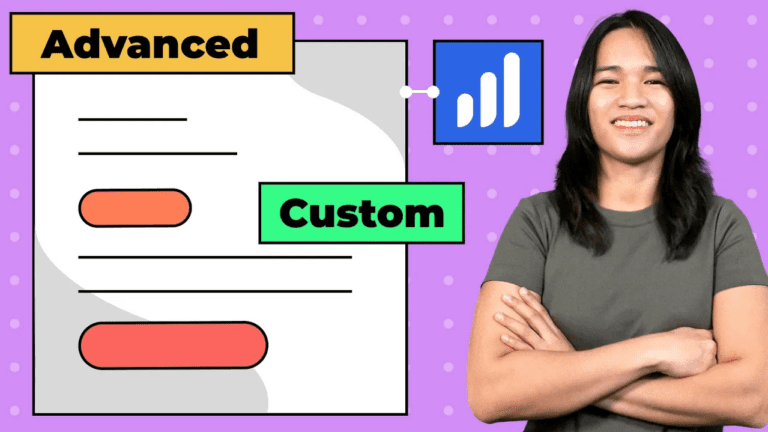
How to Create a Custom Message upon Survey Completion with JetFormBuilder
Today, I’m thrilled to guide you through an exciting journey of enhancing user engagement on your WordPress membership site. In this blog post, we’ll delve into the step-by-step process of creating a custom message to celebrate and acknowledge users who have successfully completed a survey using JetFormBuilder. Along the way, I’ll provide insights, tips, and expert advice to ensure a seamless user experience that keeps your audience engaged and satisfied.
Introduction and Set Up
If you’re as passionate about WordPress membership designs as I am, you’re in for a treat. In this tutorial, I’ll show you how to create a personalized message for users who’ve completed a survey using JetFormBuilder. But before we dive in, if you’re new to this series, make sure to catch up on our previous videos where we’ve been using JetFormBuilder to create surveys and generate reports to elevate your projects.
Enabling Dynamic Visibility
Our journey begins with a simple yet powerful step—enabling Dynamic Visibility. Don’t worry if it’s not activated already. I’ll guide you through heading to your Jet Engine settings and turning it on for both widgets and sections. We’re setting the stage to hide the survey form once a user successfully completes it. And don’t worry if this sounds complex; it’s about to get exciting!
Crafting the Query
Let’s dive into the heart of the matter: crafting a custom query. This query will be your trusty assistant in determining whether there are any survey logs linked to the current user. Once we’ve got this query working, we’ll be able to make our survey form disappear like magic for users who’ve already filled it out.
Testing the Query
Now comes the moment of truth—testing our query. Once implemented, you’ll notice how the survey form gracefully vanishes into thin air once a user completes it. It’s this dynamic visibility feature that ensures a clean and clutter-free experience for users who’ve already had their say.
Crafting a Personalized Congratulations Message
Hold on, we’re not stopping at just a disappearing act. Let’s go a step further. Imagine adding a touch of warmth and personalization to the user experience. We’ll add a new section or container to your page design, playing with styles like background color and borders. Within this carefully crafted section, we’ll compose a heartfelt message congratulating users for successfully completing the survey.
Adding an Interactive Button
Now, let’s make our message interactive. We’re going to add a button—one that beckons users to view their survey results with eager anticipation. But this isn’t just any button. We’ll customize the text to make it engaging and irresistible. And with a simple paste of the URL, users will be whisked away to their results page.
Personalizing Message Visibility
Hold on to your excitement because there’s one more layer of magic to add. We’re going to make sure that our personalized congratulatory message is reserved exclusively for users who’ve completed the survey. How? By applying the same dynamic visibility settings we used earlier, combined with the query condition we carefully crafted.
Putting It to the Test
Before we wrap up this journey, it’s crucial to put our hard work to the test. I’ll walk you through the process of completing the survey and witnessing the custom message in action. Clicking that well-crafted button should seamlessly lead users to the results page, providing an experience that’s as smooth as it is satisfying.
Empowering Users with Result Downloads
As the finishing touch to this fantastic experience, let’s empower users to download their survey results. This added functionality is made possible through the Dynamic.oo extension, which boasts incredible downloader capabilities. While we’re saving the details for our upcoming video, know that this feature adds convenience and value by allowing users to access their data with ease.
Conclusion and What’s Next
Congratulations! You’ve just unlocked the power of personalized engagement through a custom completion message in JetFormBuilder. By taking these steps, you’re creating an experience that resonates with users and encourages their continued involvement on your WordPress membership site.
If you ever find yourself in need of guidance while managing your WordPress membership site or if you have any questions, feel free to explore more by visiting us at WPMembershipdesigns. For personalized assistance and a deeper conversation, why not book a Free Discovery Call with us at https://custommem.io/call/? I invite you to share your queries in the comments below, and I’m eager to provide you with the support you need. Stay tuned for our upcoming video, where we’ll dive into the Dynamic.oo extension and its crucial role in enabling result downloads. Until then, enjoy the world of WordPress designing and building engaging experiences!