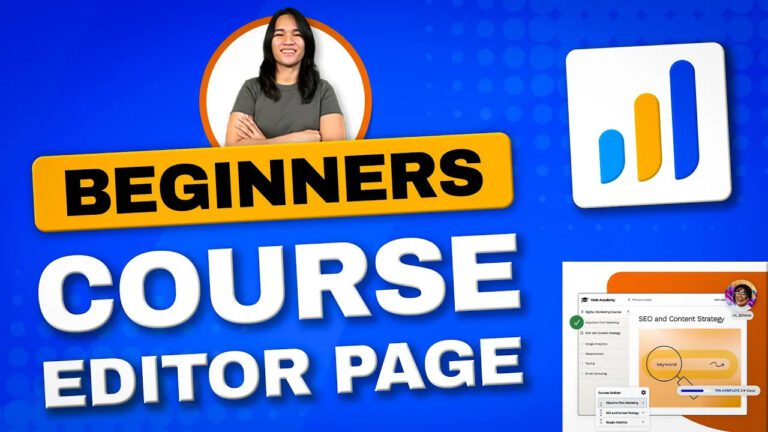
Course Creation Made Easy: LearnDash + Course Builder (2022)
Hello, everyone! I’m Danica, and I’m excited to take you on a journey through the world of WordPress and membership site design. In this blog post, we’ll be diving into the thrilling process of creating a Learn LMS website and mastering the art of crafting captivating course content from scratch. If you’ve been following along with our previous video, you’re already familiar with the functionalities of the course editor. Today, let’s roll up our sleeves and start building compelling courses step by step.
Tweaking Website Settings for Readability
Before we dive into the creation process, let’s make sure our website is optimized for a seamless reading experience. Head over to the Permalinks section and ensure that it’s set to “Post name.” Don’t forget to save your changes – it’s a small tweak that can make a big difference in user experience.
Simplifying Image Handling with the “Instant Image” Plugin
Now, let’s talk about streamlining the process of adding featured images to our demo courses. Introducing the “Instant Image” plugin – a fantastic tool that makes grabbing and using images a breeze. With this plugin, you can easily enhance the visual appeal of your courses. Install it, activate it, and you’re all set to move forward with confidence.
Creating Your Own Course Content
Let’s get into the exciting part – creating our very own courses! Start by clearing out any placeholder content that might be lingering. Your course’s title is the cornerstone, so let’s draw inspiration from successful Udemy courses. Craft a compelling course title that captures attention. Feel free to borrow inspiration from existing courses. As we move to the description, you can copy and paste relevant details. To make your course even more engaging, consider formatting the “What you will learn” section into bullet points – a simple yet effective approach.
Previewing Your Masterpiece
Before we move forward, take a moment to preview your initial course content. Clicking on “View Course” will give you a sneak peek of how your content appears to your audience. The default layout showcases the course title, LearnDash features, and the course’s content. However, we’re just scratching the surface – there’s much more to come.
Adding Depth with Lessons and Topics
To create a truly immersive learning experience, we need to incorporate lessons and topics into your course structure. For this purpose, the Learn LMS Course Builder is our invaluable tool. You can access it through the “Builder” tab, where you’ll find an array of options including lessons, headings, and more.
Crafting Your Course Structure
Let’s walk through the process with concrete examples. Replicate the structure and content of lessons, ensuring they are informative and engaging. Similarly, create headings using the same approach. Sections provide a logical flow and can encompass lessons and topics. By expanding each section, you can manually copy the content for use.
Creating Engaging Lessons
When creating a new lesson, begin with an enticing title. Follow it up with detailed topics that provide valuable insights. Remember that you have the option to enhance learning by incorporating quizzes. Each step contributes to the overall engagement level, helping learners track their progress effectively.
Organizing with Sections and Headlines
For enhanced organization and clarity, consider introducing sections or headlines. These act as markers, dividing the course into manageable segments for a smoother learning journey. Headlines serve as guiding points, ensuring learners navigate through the content effortlessly.
Customizing Display Settings
LearnDash offers the flexibility to control step display settings. You have the power to customize these values to match your preferences. This customization grants you control over the user experience and how content is presented.
Conclusion
And there you have it – an overview of the course creation process using the powerful LearnDash and Course Builder tools. As we wrap up, I want to thank you for joining me on this educational adventure. In our next segment, we’ll delve into settings and explore the functionalities of the group tab, further enhancing your e-learning platform. Stay tuned for more insights on creating engaging and effective online courses!